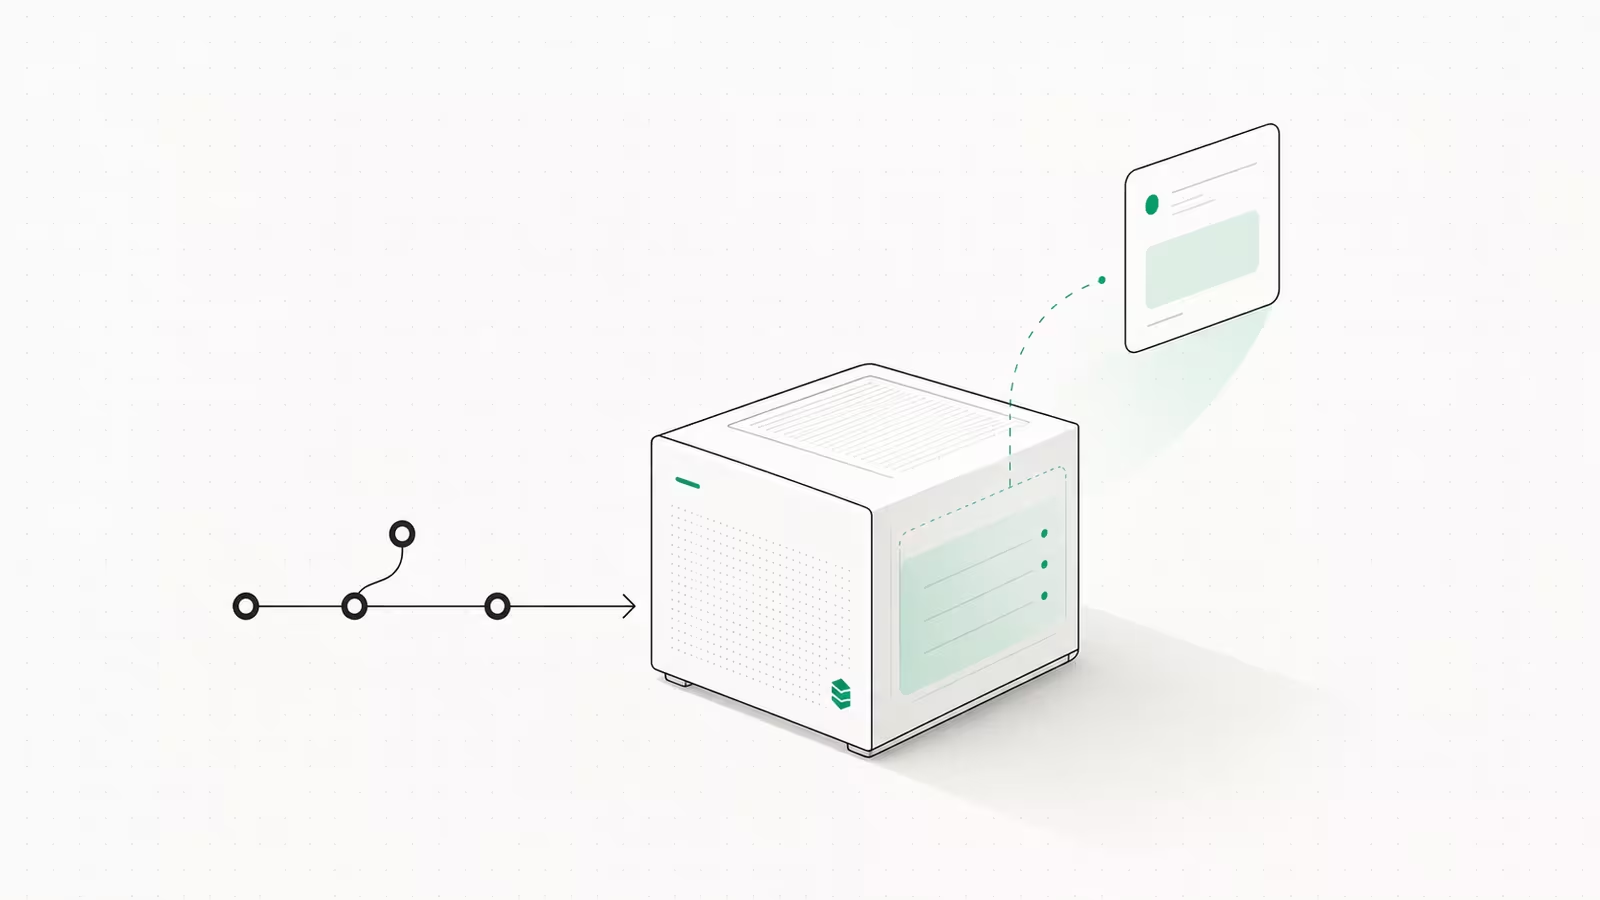
Coolify is a free, open-source platform you install on your own server with a single command, and it turns a bare VPS into a Heroku-style deploy target: push to Git, get a live app with automatic HTTPS, no per-seat or bandwidth bill. To deploy apps with Coolify you install it on a Linux VPS, point a domain at the box, connect your Git repo, and click deploy. This guide walks the whole path, from server specs to your first live deployment, and where self-hosting stops making sense.
The appeal in 2026 is mostly economic. Managed platforms bill for build minutes, seats, and increasingly for bandwidth, while a self-hosted control plane on a $5–20 VPS charges you nothing beyond the server. You trade a managed vendor for a little sysadmin work. Here is exactly what that trade looks like.
What is Coolify, and why self-host your deployments?
Coolify is an open-source, self-hostable platform-as-a-service (PaaS) that gives you the parts of Heroku, Vercel, or Netlify you actually use, deployments, databases, automatic TLS, without the recurring platform bill. It is free forever when self-hosted with, in the project's words, "no limitation or restrictions"; the only paid option is Coolify Cloud (a hosted control plane) starting at $5/month for two servers. Under the hood it drives Docker and a Traefik reverse proxy that issues Let's Encrypt certificates automatically, so you get real HTTPS without touching Nginx configs.
The reason people reach for it is control plus cost. Your apps, databases, and secrets live on infrastructure you own, which sidesteps the surprise bandwidth invoices that push teams off managed hosts in the first place. If your bill pain is egress specifically, our breakdown of cloud egress fees and how to stop paying the exit tax explains why self-hosting the serving layer often pays for itself.
What you need before you install Coolify
Coolify runs on a plain Linux VPS, and the requirements are modest. The official docs list a 2-core CPU, 2 GB of RAM, and 30 GB of disk as the minimum, on any mainstream distro (Debian, Ubuntu, Fedora, AlmaLinux, Arch, Alpine, even Raspberry Pi OS 64-bit). In practice, plan for more: DigitalOcean's tutorial recommends 4 GB of RAM and 4 cores because building container images is memory-hungry and a 2 GB box will stall or OOM on a heavy build.
You also need three things ready before you start: a fresh server with root or sudo over SSH, a domain name, and a DNS A record pointing a subdomain (for example deploy.yourdomain.com) at the server's public IP. The domain matters because Coolify uses it for the dashboard and for routing HTTPS to your apps. If you have not hardened the box yet, run through the secure first hour of setting up a VPS first, Coolify does not replace basic server hygiene like SSH keys and a firewall.
How to install Coolify on a VPS
Installation is genuinely one command. SSH into the server, update packages, then run the official installer, which detects your OS, installs Docker, sets up the Coolify containers, and creates a Docker network:
sudo apt update && sudo apt upgrade -y
curl -fsSL https://cdn.coollabs.io/coolify/install.sh | sudo bash
Automatic installation targets Ubuntu LTS (20.04, 22.04, 24.04); other distros are supported but may need the manual install path in the docs. When it finishes, the script prints a URL like http://your-server-ip:8000. Open it, create the first admin account (the very first user becomes the owner, so do this immediately, before anyone else can), and you land in the dashboard. One gotcha worth checking up front: run hostname --ip-address and make sure it does not return 127.0.0.1, a loopback hostname is the most common cause of a failed first deploy.
How to deploy apps with Coolify: your first deployment
Inside the dashboard, deploying apps with Coolify follows a fixed path: connect a source, pick a build method, deploy. Connect your Git provider (GitHub, GitLab, or Gitea) under Sources, then create a new Application, choose the repository and branch, and Coolify offers three build packs: Nixpacks, a Dockerfile, or the newer Railpack. Nixpacks auto-detects most Node, Python, PHP, Go, and Rust apps with zero config; use a Dockerfile when you need exact control. Add your environment variables and secrets in the app's settings, set the exposed port, and hit Deploy. Coolify builds the image, starts the container, and wires it into Traefik.
The feature that makes it feel like Vercel is push-to-deploy. Enable GitHub auto-deploy and every push to your chosen branch triggers a fresh build and rollout via webhook, no manual step. This is the same continuous-deploy loop you would get from a managed PaaS, except the build runs on your server and nothing meters it.
Domains, HTTPS, and managed databases
Attaching a custom domain is where Coolify earns its keep. In the application's Domains field, enter https://app.yourdomain.com, point that subdomain's DNS at your server, and Traefik requests a Let's Encrypt certificate and renews it automatically, no certbot cron jobs, no manual renewals. The one requirement is that ports 80 and 443 are open and DNS has propagated; certificate issuance fails silently until the record resolves.
Databases are first-class too. From Add Resource → Databases you can spin up managed PostgreSQL, MySQL, MariaDB, Redis, or MongoDB; Coolify generates the credentials and a connection string that your app can reference as a secret. The critical step people miss is persistence: attach a volume so the data survives a container restart or redeploy, otherwise a rebuild wipes the database. For apps that outgrow a single box, note that Coolify v4 is single-node by default; multi-server orchestration is the headline goal of the in-development v5 line.
Coolify vs managed platforms: the real cost math
The decision usually comes down to who absorbs the ops work versus who absorbs the bill. Here is how the common options compare for a small-to-mid app in 2026:
| Platform | Pricing model | You manage | Best for |
|---|---|---|---|
| Coolify (self-hosted) | Free; you pay only for the VPS (~$5–20/mo) | The server, updates, backups | Cost-sensitive teams comfortable with a VPS |
| Coolify Cloud | From $5/mo, +$3/mo per extra server | Your app servers only | Wanting the UI without hosting the control plane |
| Vercel / Netlify | Free tier, then usage + bandwidth | Nothing (fully managed) | Frontend/JAMstack, teams avoiding all ops |
| Heroku / Railway | Per-dyno / per-resource monthly | Nothing | Fast prototyping, no infra ownership |
The gap that self-hosting closes is bandwidth. Managed platforms increasingly meter egress, and a moderately popular app can run a serving bill that dwarfs a flat-rate VPS. If you want to see how those flat-rate boxes stack up, our ranking of the best VPS hosting by real price-performance is a good starting point; Coolify runs on any of them, including budget providers and our own WaseerHost VPS instances.
When Coolify is the wrong choice
Self-hosting is not free of cost, it just moves the cost from your invoice to your time. Coolify puts a server on you: OS updates, security patches, backups, and being the person paged when the box goes down are now your job, not a vendor's. If your team has no appetite for that, a fully managed platform is the honest recommendation even at a higher bill.
Two other limits matter. Builds are resource-hungry, so a 2 GB VPS that meets the minimum will still struggle, budget 4 GB or more if you deploy anything substantial. And Coolify v4 runs on a single node, so you cannot yet scale one app across a fleet of servers the way a cloud PaaS does; that native scalability is what the v5 milestone is being built for, per the project's roadmap. For a single VPS serving a handful of apps, none of this bites, which is exactly the sweet spot Coolify was built for.
FAQ
Is Coolify free? Yes. Self-hosted Coolify is open-source and free forever with full access to every feature. The only paid product is Coolify Cloud, a hosted control plane that starts at $5/month for two servers plus $3/month for each additional server. When you self-host, your only cost is the VPS the software runs on.
How much RAM does Coolify need? The official minimum is 2 GB of RAM with a 2-core CPU and 30 GB of disk. That is enough to run the control plane and a few light apps, but image builds are memory-intensive, so 4 GB or more is the realistic recommendation once you deploy real workloads.
Can Coolify auto-deploy from GitHub? Yes. Connect your GitHub account, enable auto-deploy on an application, and Coolify redeploys on every push to your chosen branch using a webhook. It is the same push-to-deploy workflow as Vercel or Netlify, running on your own server.
Is Coolify production-ready? Coolify v4 is the current stable line and is used in production by many teams. As with any self-hosted platform, production readiness depends on you handling backups, monitoring, and updates. It is stable software; the responsibility for the underlying server is what you take on.
Coolify vs Dokploy, which should I pick? Both are open-source, self-hosted PaaS tools with a similar feature set. Coolify is the more mature project with a larger community and broader build-pack support; Dokploy is lighter and simpler. For most users the deciding factor is ecosystem and documentation, where Coolify currently leads.
Sources
- Coolify Docs — Installation: official minimum specs, supported OSes, and the one-line install command.
- Coolify — Pricing: self-hosted "free forever" terms and Coolify Cloud pricing.
- Coolify Docs — Applications: build packs (Nixpacks, Dockerfile, Railpack) and deployment settings.
- Coolify Docs — GitHub Auto Deploy: push-to-deploy webhook workflow.
- DigitalOcean — Deploy Apps with Coolify: recommended specs, server setup, and Traefik/Let's Encrypt HTTPS.
- coollabsio/coolify — Releases: v4 stable line and v5 multi-server roadmap.
Some links may earn us a commission at no extra cost to you.

Waqas Ahmed Waseer
Waqas Ahmed Waseer is a developer and automation builder with 8+ years shipping production systems used by 100k+ people. He builds custom multi-tenant SaaS, AI automation (n8n, LLM workflows, WhatsApp bots) and hosting infrastructure (WHM/cPanel, CloudLinux) — and is the maker of WaSphere, FlowMaticX, and the WaseerHost hosting brand. 100+ projects delivered for SMBs, agencies and funded startups.