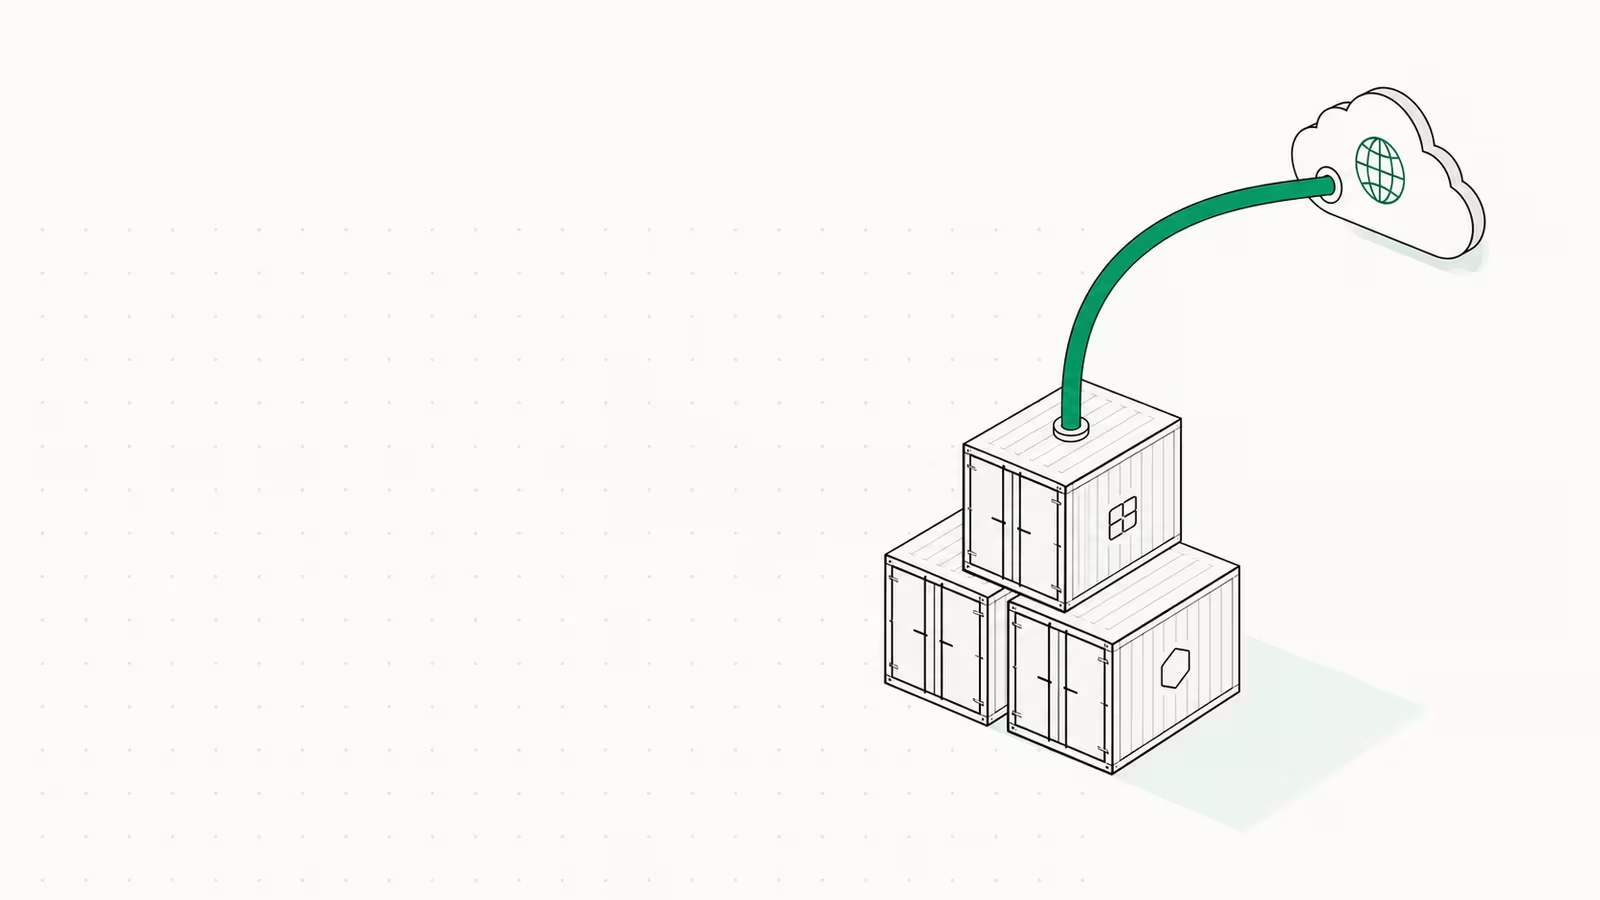
To run Cloudflare Tunnel in Docker, add the official cloudflare/cloudflared image as a service in your docker-compose.yml, pass a tunnel token from the Cloudflare dashboard as the TUNNEL_TOKEN environment variable, and put cloudflared on the same Docker network as the app you want to expose. That's the whole trick: no ports opened on your firewall, no reverse proxy to configure, and cloudflared reaches your app by its container name over Docker's internal network. This guide walks the exact Compose setup, the one networking gotcha that trips almost everyone up, and the limits worth knowing before you rely on it.
If you want the full picture of how tunnels work across every install method (systemd, macOS, quick tunnels, plus Cloudflare Access in front), see our complete guide to setting up a Cloudflare Tunnel. This piece is narrower on purpose: the containerized, Docker Compose pattern that the official docs mostly skip.
Why run cloudflared as a container?
The cloudflare/cloudflared Docker image is the connector daemon that opens an outbound-only connection to Cloudflare's edge and forwards requests to your local services. Running it as a container instead of a system package has three real advantages for a self-hosted stack. It lives in the same docker-compose.yml as everything else, so the whole stack comes up with one docker compose up -d. It's pinned to an image tag, so upgrades are a deliberate docker pull, not a background auto-update. And it can talk to your other containers directly over a private Docker network, which means the app you're exposing never needs a published port at all.
The security model is the part people underrate. Because cloudflared dials out to Cloudflare over QUIC/HTTPS, your VPS or home server can keep every inbound port closed at the firewall. There's no 80/443 listening on the public internet to scan or brute-force. For a self-hosted box, that's a meaningful reduction in attack surface compared with punching holes for a traditional reverse proxy.
Prerequisites
- A domain onboarded to Cloudflare (using Cloudflare's nameservers). The official setup docs list this as required to publish an application through a tunnel.
- Docker and Docker Compose installed on the host. If you're starting from a bare server, our secure VPS first-hour guide covers hardening before you expose anything.
- A tunnel token, created in one step in the dashboard (next section).
Cloudflare Tunnel itself is free with unlimited bandwidth — you only need the free Cloudflare account and a domain on their DNS.
Step 1 — Create a remotely-managed tunnel and copy the token
In the Cloudflare dashboard, go to Zero Trust → Networks → Tunnels → Create a tunnel, choose Cloudflared, name it, and save. On the "install connector" screen, pick Docker. Cloudflare shows you a docker run command with a long token baked in — you don't need the whole command, just the token string after --token. That token both authenticates the connector and tells it which tunnel it belongs to.
This is the remotely-managed model: the tunnel's routing rules (which hostname maps to which local service) are configured in the dashboard, not in a local config file. It's the simplest path for Docker and the one Cloudflare now defaults to. The alternative, locally-managed, keeps a config.yml and credentials file inside the container — more portable and version-controllable, but more moving parts. The table below compares them.
| Remotely-managed (token) | Locally-managed (config.yml) | |
|---|---|---|
| Where routing lives | Cloudflare dashboard | config.yml on the host |
| What the container needs | Just TUNNEL_TOKEN | Config file + credentials JSON mounted in |
| Best for | Most Docker setups, fast start | GitOps, many hostnames, reproducible infra |
| Ingress edits | Click in dashboard | Edit file, restart container |
| Secrets to protect | The token | The credentials file |
Step 2 — Add cloudflared to docker-compose.yml
Here's a minimal Compose file exposing an app container (call it webapp, listening on port 3000) through the tunnel:
services:
  webapp:
    image: your/webapp:latest
    restart: unless-stopped
    networks: [internal]
    # note: no "ports:" — nothing is published to the host

  cloudflared:
    image: cloudflare/cloudflared:latest
    restart: unless-stopped
    command: tunnel --no-autoupdate run
    environment:
      - TUNNEL_TOKEN=${TUNNEL_TOKEN}
    networks: [internal]

networks:
  internal:
Put the token in a .env file next to the Compose file (TUNNEL_TOKEN=ey...) and add that file to .gitignore. Never commit the token — anyone with it can run your tunnel. For a hardened setup, use a Docker secret instead of an env var. The --no-autoupdate flag is deliberate: the image tag controls the version, so you upgrade by pulling a new image, not by letting the daemon patch itself at runtime.
The equivalent one-off command, if you're not using Compose, is the same one the dashboard prints:
docker run cloudflare/cloudflared:latest tunnel --no-autoupdate run --token <TUNNEL_TOKEN>
Step 3 — Point the tunnel at your container (the gotcha)
This is where most people get stuck, and it's all over the Cloudflare community forums. Back in the dashboard, open your tunnel, go to the Public Hostname tab, and add a route: pick a subdomain (say app.yourdomain.com) and set the service URL.
The mistake is entering http://localhost:3000. Inside the cloudflared container, localhost is the cloudflared container itself — not your app, and not the Docker host. Because both containers share the internal network, cloudflared can resolve the app by its Compose service name. So the correct service value is:
http://webapp:3000
Docker's built-in DNS maps webapp to the app container's IP on the shared network. If your app runs somewhere other than a sibling container — say directly on the host — you'd instead use http://host.docker.internal:3000 (with the appropriate extra_hosts entry on Linux). Getting this URL right is 90% of a working tunnel; a 502 at the edge almost always means cloudflared can't reach the address you typed here.
Step 4 — Bring it up and verify
docker compose up -d
docker compose logs -f cloudflared
In the logs, look for lines confirming registered connections to Cloudflare's edge (usually four, to different data centers). Once they're up, load https://app.yourdomain.com — TLS is terminated at Cloudflare's edge automatically, so you get HTTPS without ever installing a certificate on your box. If it doesn't resolve, check that the Public Hostname's DNS record was created (Cloudflare adds a proxied CNAME for you) and that the service URL matches your container name and port.
Limits worth knowing before you depend on it
Tunnels are solid, but the free proxy has hard edges:
- 100 MB upload cap. Cloudflare's Free and Pro plans enforce a 100 MB maximum request body size. Upload a bigger file through the tunnel and the edge returns HTTP 413 before it ever reaches your container. This bites file-upload apps, backups, and large media posts.
- Not for heavy media streaming. Cloudflare's proxy isn't intended for serving large volumes of non-HTML content like video libraries; a self-hosted Plex or Jellyfin behind a tunnel can run into throttling. Use it for apps and dashboards, not as a CDN for a movie collection.
- Quick tunnels are testing-only. The throwaway
trycloudflare.comtunnels have a 200-concurrent-request limit and don't support Server-Sent Events. Fine for a demo, wrong for production — use a named tunnel with your own domain instead. - You're trusting Cloudflare's edge. All traffic transits their network. For most self-hosters that's an acceptable trade for closed inbound ports; if it isn't for your threat model, a self-hosted WireGuard or reverse proxy is the alternative.
For a deeper security layer, you can also put Cloudflare Access in front of the hostname so only authenticated users reach the app — covered in the general tunnel guide.
Where this fits in a self-hosted stack
The Docker tunnel pattern shines when you're already running your apps in containers — which is the direction most self-hosting has moved. Pair it with our step-by-step guide to self-hosting your apps on a VPS and cloudflared becomes the single, portable "front door" service you drop into every stack. One image, one env var, zero open ports.
FAQ
Can I run cloudflared in docker-compose?
Yes. Add cloudflare/cloudflared:latest as a service with command: tunnel --no-autoupdate run and a TUNNEL_TOKEN environment variable holding a token you created in the Cloudflare Zero Trust dashboard. Put it on the same Docker network as the app you're exposing so it can reach the container by name.
How does cloudflared reach another container?
Over Docker's internal DNS. When both containers share a user-defined network, cloudflared resolves the other container by its Compose service name — so the tunnel's service URL is http://<service-name>:<port> (for example http://webapp:3000), never http://localhost:3000, because localhost inside the container refers to cloudflared itself.
Do I need to open ports for a Cloudflare Tunnel in Docker? No. cloudflared makes an outbound-only connection to Cloudflare's edge, so no inbound ports are published on the container or opened on the host firewall. That closed-port posture is the main security benefit over a traditional reverse proxy.
Is Cloudflare Tunnel free? Yes. Cloudflare Tunnel is free with unlimited bandwidth on the free plan; you only need a free Cloudflare account and a domain using Cloudflare's DNS. Paid plans lift some proxy limits (like the 100 MB request cap) but aren't required to run a tunnel.
Cloudflare Tunnel or a reverse proxy — which should I use in Docker? Use a reverse proxy (Caddy, Traefik, Nginx) when you're comfortable opening 80/443 and want full control of TLS and caching on your own box. Use a Cloudflare Tunnel when you'd rather keep every inbound port closed and let Cloudflare handle TLS and edge routing. Many stacks run both: a tunnel for external access, a proxy for internal routing.
Sources
- Cloudflare — Set up Cloudflare Tunnel: official install steps, the
docker run cloudflare/cloudflaredcommand, and the domain-on-Cloudflare requirement, updated April 2026. - Docker Hub — cloudflare/cloudflared: the official connector image used in the Compose file.
- Cloudflare Community — cloudflared in docker-compose: the recurring container-networking question this guide resolves.
- Cloudflare Community — maximum upload limit on the free plan: confirms the 100 MB request-body cap that returns HTTP 413.
Some links may earn us a commission at no extra cost to you.

Waqas Ahmed Waseer
Waqas Ahmed Waseer is a developer and automation builder with 8+ years shipping production systems used by 100k+ people. He builds custom multi-tenant SaaS, AI automation (n8n, LLM workflows, WhatsApp bots) and hosting infrastructure (WHM/cPanel, CloudLinux) — and is the maker of WaSphere, FlowMaticX, and the WaseerHost hosting brand. 100+ projects delivered for SMBs, agencies and funded startups.